Finding Marine Tardigrades
If you find yourself at the beach you may want to look for some marine tardigrades. Marine tardigrades often have very elaborate spike and specialized head appendages that make them particularly exciting to find and observe. They are usually a bit harder to find than terrestrial species and require a bit more specialized equipment - but none the less with patients you should be able to find some great specimens!
|
Stuff you will need:
Buckets/jars for collecting sediment Sieve (I hot glued some 30um filter mesh to a plastic waste beaker with the bottom broken out). Shovel/digging tool Fresh water Microscope Plastic dishes Squeeze bottle Optional: fake sea water (there are a number of commercially available products like "Instant Ocean" that you can buy or you can try make your own - recipe below) |
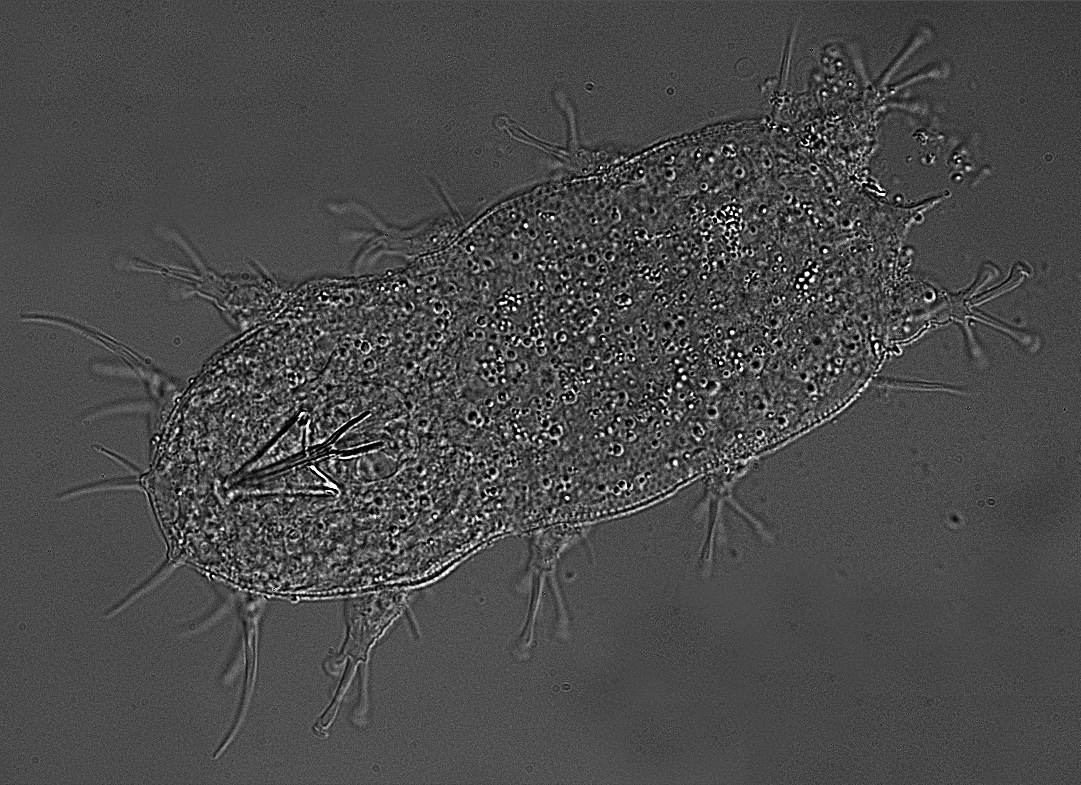
A marine Arthrotardigrade (genus: Batillipes) found at low tide at Bogue Banks, NC. Photo credit: T. Boothby
|
Protocol
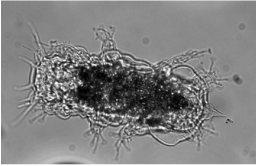 Marine Arthrotardigrade (genus: Batillipes) found by in Woods Hole, MA. photo credit: S. Tintori
1. Wait for low tide and then go down to the tideline and dig down a foot or so. Then gather some sediment and save in a jar/bucket.
2. Walk 10 feet up from the tideline and repeat step 1.
3. Keep doing this until you reach the high tide line.
4. Place some sediment in a container - like a bucket or beaker - and add some fresh water to it. Since marine tardigrades are used to living in salty water the fresh water osmotically 'shocks' them. This makes the tardigrades let go of the sand particles they will be clinging to and makes them much easier to find.
5. Swirl the sediment to get the tardigrades suspended in the water and then pour the water through your sieve. (You don't want to junk up the sieve with sediment - just water).
6. Repeat the wash and sieving step with more fresh water. Sometime you have to 'shock' them 3 times or more to get them to really let go of the sediment.
7. Now hopefully you have a tardigrade or two on the sieve.
8. Fill the squeeze bottle with fake sea water and rinse the sieve off into a clear plastic dish. (Use fake sea water if you want your tardigrades to stay alive - if you don't need live specimens you can just use fresh water for this step).
9. Look for tardigrades using a microscope.
nb: If you do not have your microscope with you at the ocean you can try to keep your specimens alive until you get back home or to the lab. Do this by keeping your sediment cool (either in a cooler with ice packs or in a refrigerator). Even if your specimens don't make it back alive you can still usually find some dead tardigrades weeks or more after collecting the sediment.
I think the hardest part is finding your first marine tardigrade. Once you spot one and know what to look for it becomes a lot easier. Shocking the tardigrades with fresh water is a very important step. If you aren't finding any marine tardigrades or if you find they are still clinging to sand particles repeat step 4 and 5 a couple more times.
Good luck.
-Thomas Boothby
Make your own fake sea water (adapted from Cold Spring Harbor protocol)
Unless you already have access to most or all of the reagents and equipment listed below buying fake sea water mix will be a lot easier and cheaper than making your own.
You will need:
A clean 1 liter bottle
Deionized water
Scale
NaCl
KCl
CaCl2
MgCl26H2O
MgSO47H2O
Optional: If you have access to an autoclave you will also want a 2 liter flask, funnel, and tin foil. pH test strips or pH meter and solutions for adjusting pH.
1. Add 500mL of deionized water to your bottle (or flask if autoclaving). If you don't have a way to measure the water exactly don't worry - just fill the bottle up about half way.
2. Add the following amounts of chemicals to your bottle:
NaCl --- 26.29 grams (450 mM)
KCl --- 0.74 grams (10mM)
CaCl2 --- 0.99 (9mM)
MgCl26H2O --- 6.09 grams (30mM)
MgSO47H2O --- 3.94 grams (16mM)
3. Mix until everything is dissolved. If your having trouble getting everything to dissolve add some more water.
4. If you have access to the right equipment adjust the pH to 7.8.
5. Fill your bottle up to 1 liter with deionized water.
6. If you're autoclaving your solution do all the above in a large flask, autoclave the solution, and then decant into a clean 1 liter bottle.
7. To keep stuff from growing in your solution (especially if you didn't autoclave it) store it in a refrigerator at 4 degrees C.
